28 October 2015

DIY halloween - toy story edition

i've been going through some old photos & organizing them with the hope that i will find the time to sit down & actually write some blog posts! halloween is just around the corner so i thought it would be the perfect time to revisit some costumes from years past.

when my oldest daughter was 2, she was starting to form opinions about her wardrobe & seemed pretty excited about the thought of dressing up as a character. she hadn't quite discovered princesses yet so it was easy to convince her that toy story costumes would be perfect!

i am going to apologize in advance for the photo quality. these were taken on my iphone, in terrible lighting & no amount of editing was going to make them look good (not that i'm huge into photo editing anyway). so i just left them as is.

have i mentioned that i LOVE halloween? (check out some of my costumes here). now that i have kids, i have an excuse to trick or treat again. nothing against store-bought costumes (they are much better than the plastic masks & smocks i got to chose from when i was a kid), i just really enjoy the process of putting together costumes myself. and of course there has to be some sort of theme.

here's what i used for my daughter's costume for jessie:

- 1 yard of cow-print fabric (i found at jo-ann fabrics)
- long sleeve white tee-shirt
- jeans (jeans & tee-shirt i found at target in the toddler boys department)
- yellow cotton fabric (a remnant from jo-ann fabrics, about 1/2 a yard)
- iron-on adhesive (aka heat n bond)
- gray felt (2 different shades)
- red puffy paint
- string
- light brown felt
- dark brown felt
- hot glue gun & glue
- red cowboy hat (found at a halloween supply store)


for the shirt, first i applied the heat n bond to the back of the yellow cotton fabric according to the directions on the package. then, i traced the shape i wanted the final size to be onto the paper backing of the heat n bond, using the shirt as a guide.


i did his to both sides of the shirt & cut each piece to the shapes i wanted. i applied the yellow fabric to the front & back of the shirt, placing the ironing board inside the shirt so it didn't end up glued together!

i made the cuffs from 2 strips of yellow fabric & attached to each sleeve using the heat n bond.

i cut 2 circles from the darker gray felt & 2 slightly smaller circles from the lighter gray felt & glued them to the front of the shirt, using hot glue.


i penciled in the red embroidery detail on the front of the shirt & the cuffs & carefully traced over it with red puffy paint. i used the darker gray felt & string for the back pull-string detail.


next, the pants... i placed the jeans on the cow-print fabric & traced the leg shape with an extra flare added below the knee.


i did this for each side, then i attached (using heat n bond) the cow fabric to the jeans, just on the top part of the jean legs to the knee, leaving the lower half free.


i added the belt using curved strips of dark brown felt & the belt buckle was light brown felt with the hand drawn detail in sharpie, both hot-glued to the jeans.

here is the final look:


for my husband's woody costume, he wore his own jean & plaid button-down, then i also needed:

- 2 yards of the cow-print fabric (also used for jessie)
- sheriff's badge
- brown cowboy hat
- red bandana
- brown felt (just a small piece is needed for the belt buckle, with hand-drawn detail in sharpie)

i used one of my husband's button-down shirts as a guide & cut the cow-print fabric into a the vest shape i wanted.


then i pinned the top around the shoulders & sides under the arm holes while it was inside out & stitched it by hand (quick, nothing fancy since it was hidden anyway), which made it pretty close to the correct shape.


here is a blurry photo of the final look, but you get the idea:


here is jessie visiting daddy at work:


here is a view of the back of the costume:


and here's the whole toy story family!


ok, so i kind of cheated with my costume. at this point i was about 6 weeks pregnant with baby #2, right at the start of my constant nausea/total exhaustion trimester (not to be confused with my constant back-ache/total exhaustion trimester). i used a kids buzz lightyear full body costume (i'm 5 feet tall, adult costumes don't fit me). the fit was a little snug so i cut it below the belt detail, turning it into a shirt. i wore it with white sweatpants & buzz lightyear gloves, which covered up the fact that the sleeves were too short, then i drew a spiral on my chin with brown eyeliner & called it a day. 

well, my daughter loved our costumes. she was happy so that's all i really care about! 

how about you? store bought or home-made or, like me, a combination of both?

happy trick-or-treating!

13 February 2015

art projects with my kids: valentine's day cards

i have a feeling that when luciana comes home from school today, she'll also be bringing home lots of homemade valentine's day cards. in the past 3 weeks there have been 6 snow days so i'm sure crafting was among the many indoor activities parents were doing with their kids. we have about 17 feet of snow outside. ok, about 6 feet of snow, which is still not exactly ideal snowman building conditions. 

the first year i had lucy make valentine's day cards (2 years ago, detailed here), i was all proud of myself... until she came home with elaborate goody bags from each of her classmates. and all she got them were cards...? last year i found grow-your-own flower kits in the dollar section at target. i thought it would be a fun project for kids to do at home, something they would get some use out of later. that plus a card plus some chocolates seemed perfect. this year, lucy is at a different school with all different classmates so i decided to use the same idea again.

i wasn't sure how long lucy's attention span would be, having to make 21 cards, so i had her start making them on sunday. good thing i started early since she ended up getting sick and stayed in bed during the 2 snow days we had this week! i was pleasantly surprised at how she did.

art projects with my kids: valentine's day cards

this project also gave me a chance to practice my photography skills. i finally took a photography workshop (more about that later) and i really need to keep up with practicing in manual mode. plus, oooh a watermark! i'm learning lots of new tricks...

i like to have a variety of supplies on hand when doing crafts with my kids, to keep it interesting. first, the cards. in michaels i was able to find these 3 x 3 blank cards and envelopes on sale.

art projects with my kids: valentine's day cards

i'm lucky because luciana LOOOOOOOOVES doing any sort of art project. i was able to put the supplies in front of her and she got right to work.

art projects with my kids: valentine's day cards

purple is her favorite color (even her classmates know this) so of course she had to start by adding a purple touch to each card.

art projects with my kids: valentine's day cards

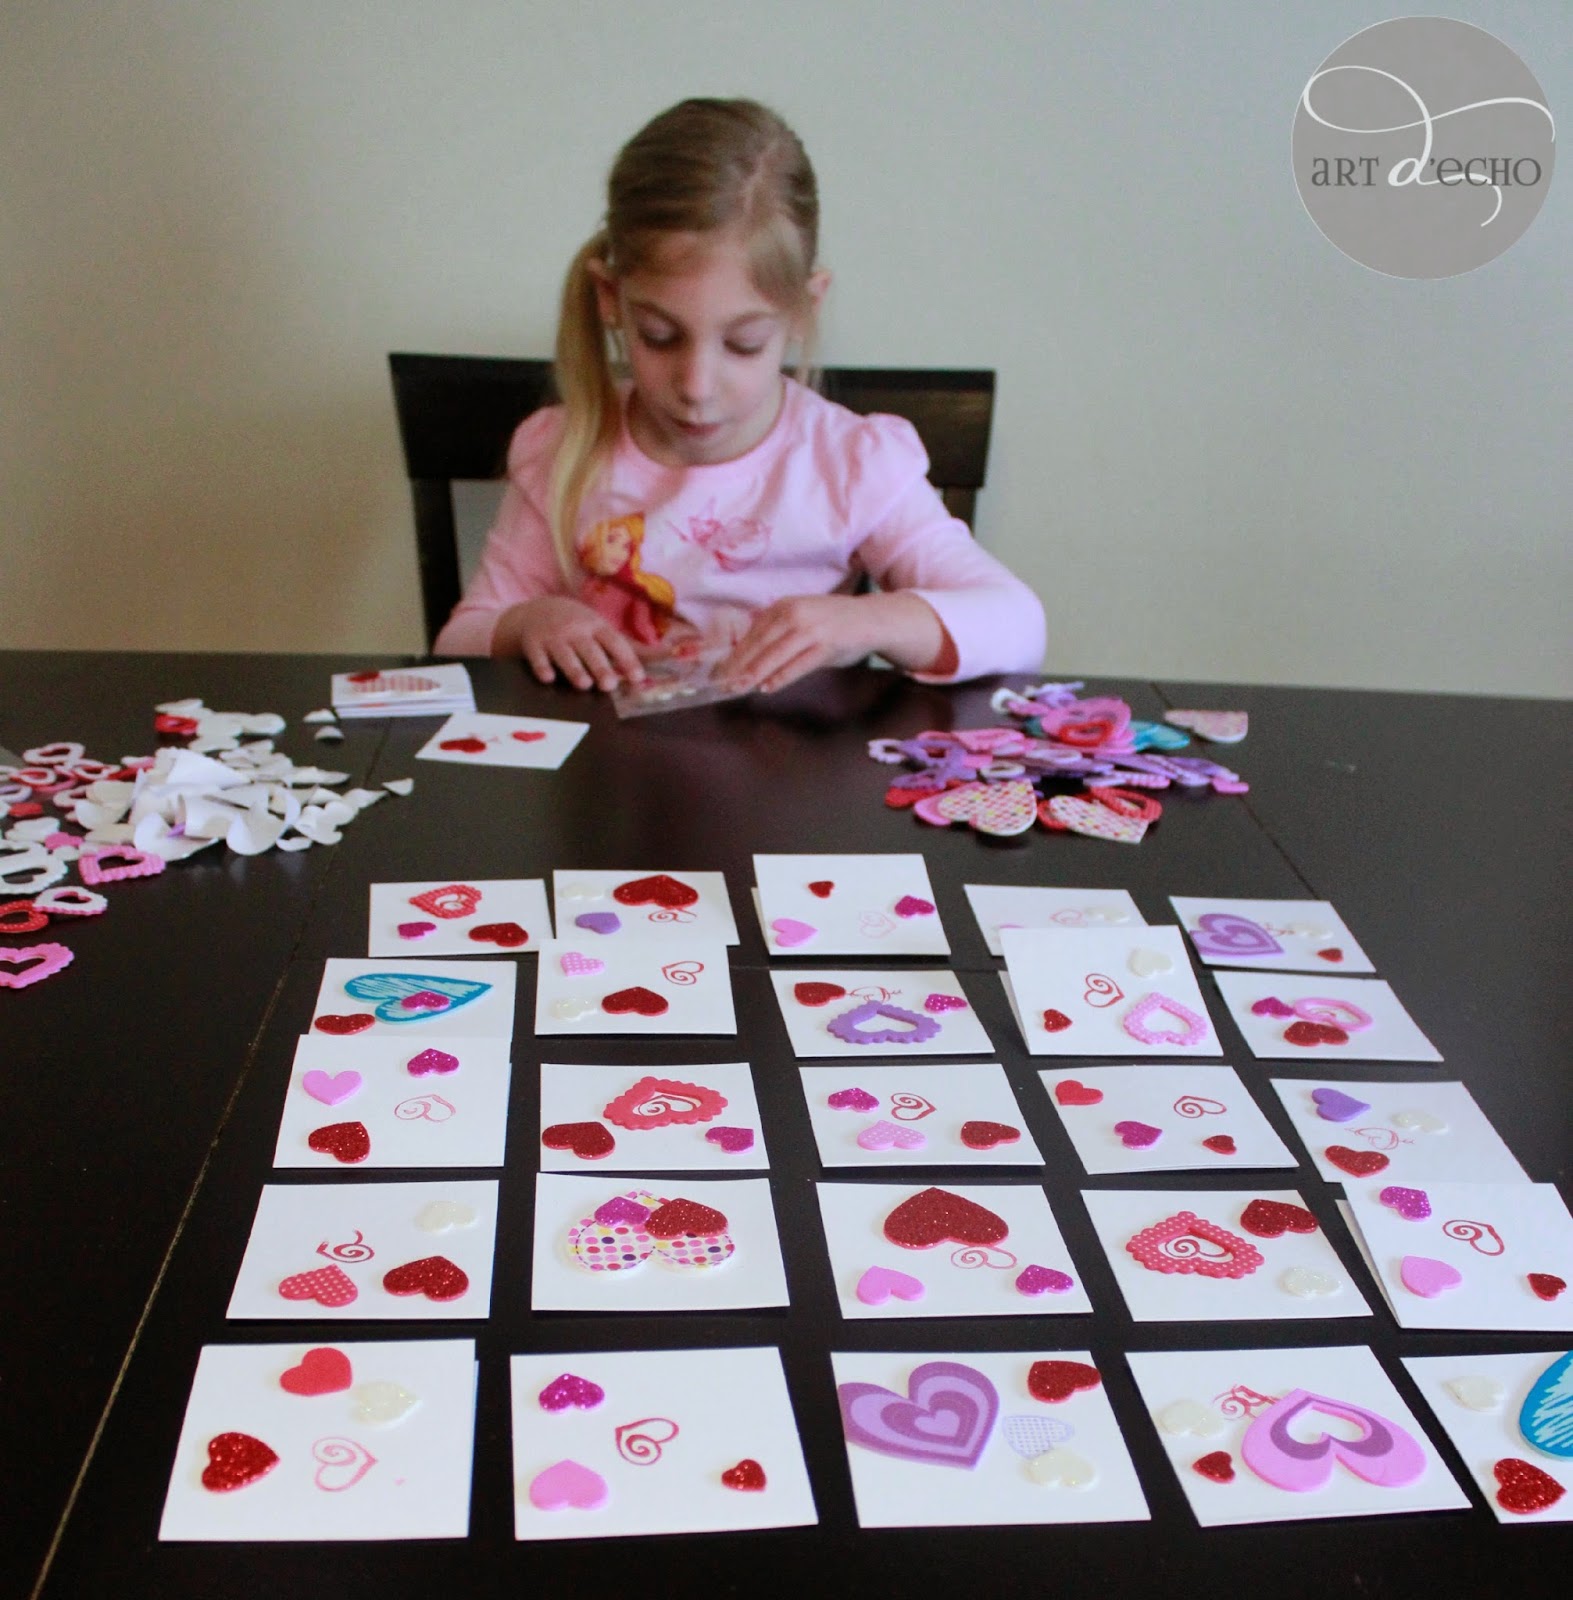
i had 4 different heart stamps and 2 ink colors (red and purple) for her to chose from. i just made sure each card had something and the rest was up to her. once she was done with stamping, i gave her some stickers.

art projects with my kids: valentine's day cards

michaels also had a sale on all the valentine's day crafting supplies, so i bought tons of different foam heart stickers. my girls love stickers, they will never go to waste in this house. lucy's teachers will be happy that she was getting a lot of fine motor practice peeling all the backings off!

art projects with my kids: valentine's day cards

lucy had a very clear idea of what she wanted on each card.

art projects with my kids: valentine's day cards

i was able to keep anabella busy by giving her stickers to separate.

art projects with my kids: valentine's day cards

as long as lucy stayed into it, i kept giving her more stickers to use. we made it into a game, making sure all of the cards had an equal number on them.

art projects with my kids: valentine's day cards

i lined up all her cards for her so she could see them all together.

art projects with my kids: valentine's day cards

i love how different each card ended up looking!

art projects with my kids: valentine's day cards

once she was done with the cards, it was time to do the writing. i would tell her the name of a classmate and she would pick out a card. she is in kindergarten and just starting to learn to write so it was good practice sounding out the names.

art projects with my kids: valentine's day cards

she wrote out 21 cards and envelopes and still wanted to keep going...

art projects with my kids: valentine's day cards

this was how she wrote her name on last year's cards, i can't believe how much it's changed!

art projects with my kids: valentine's day cards

we still had more stickers and she wanted to do more, so she added a small one to the front of each envelope, careful not to cover up the names...

art projects with my kids: valentine's day cards

and a large one to the back to seal each envelope.

art projects with my kids: valentine's day cards

once they were done, it was time to get everything ready to assemble. i held the ribbon (10 yards of an inexpensive red ribbon), lucy's job was to cut it.

art projects with my kids: valentine's day cards

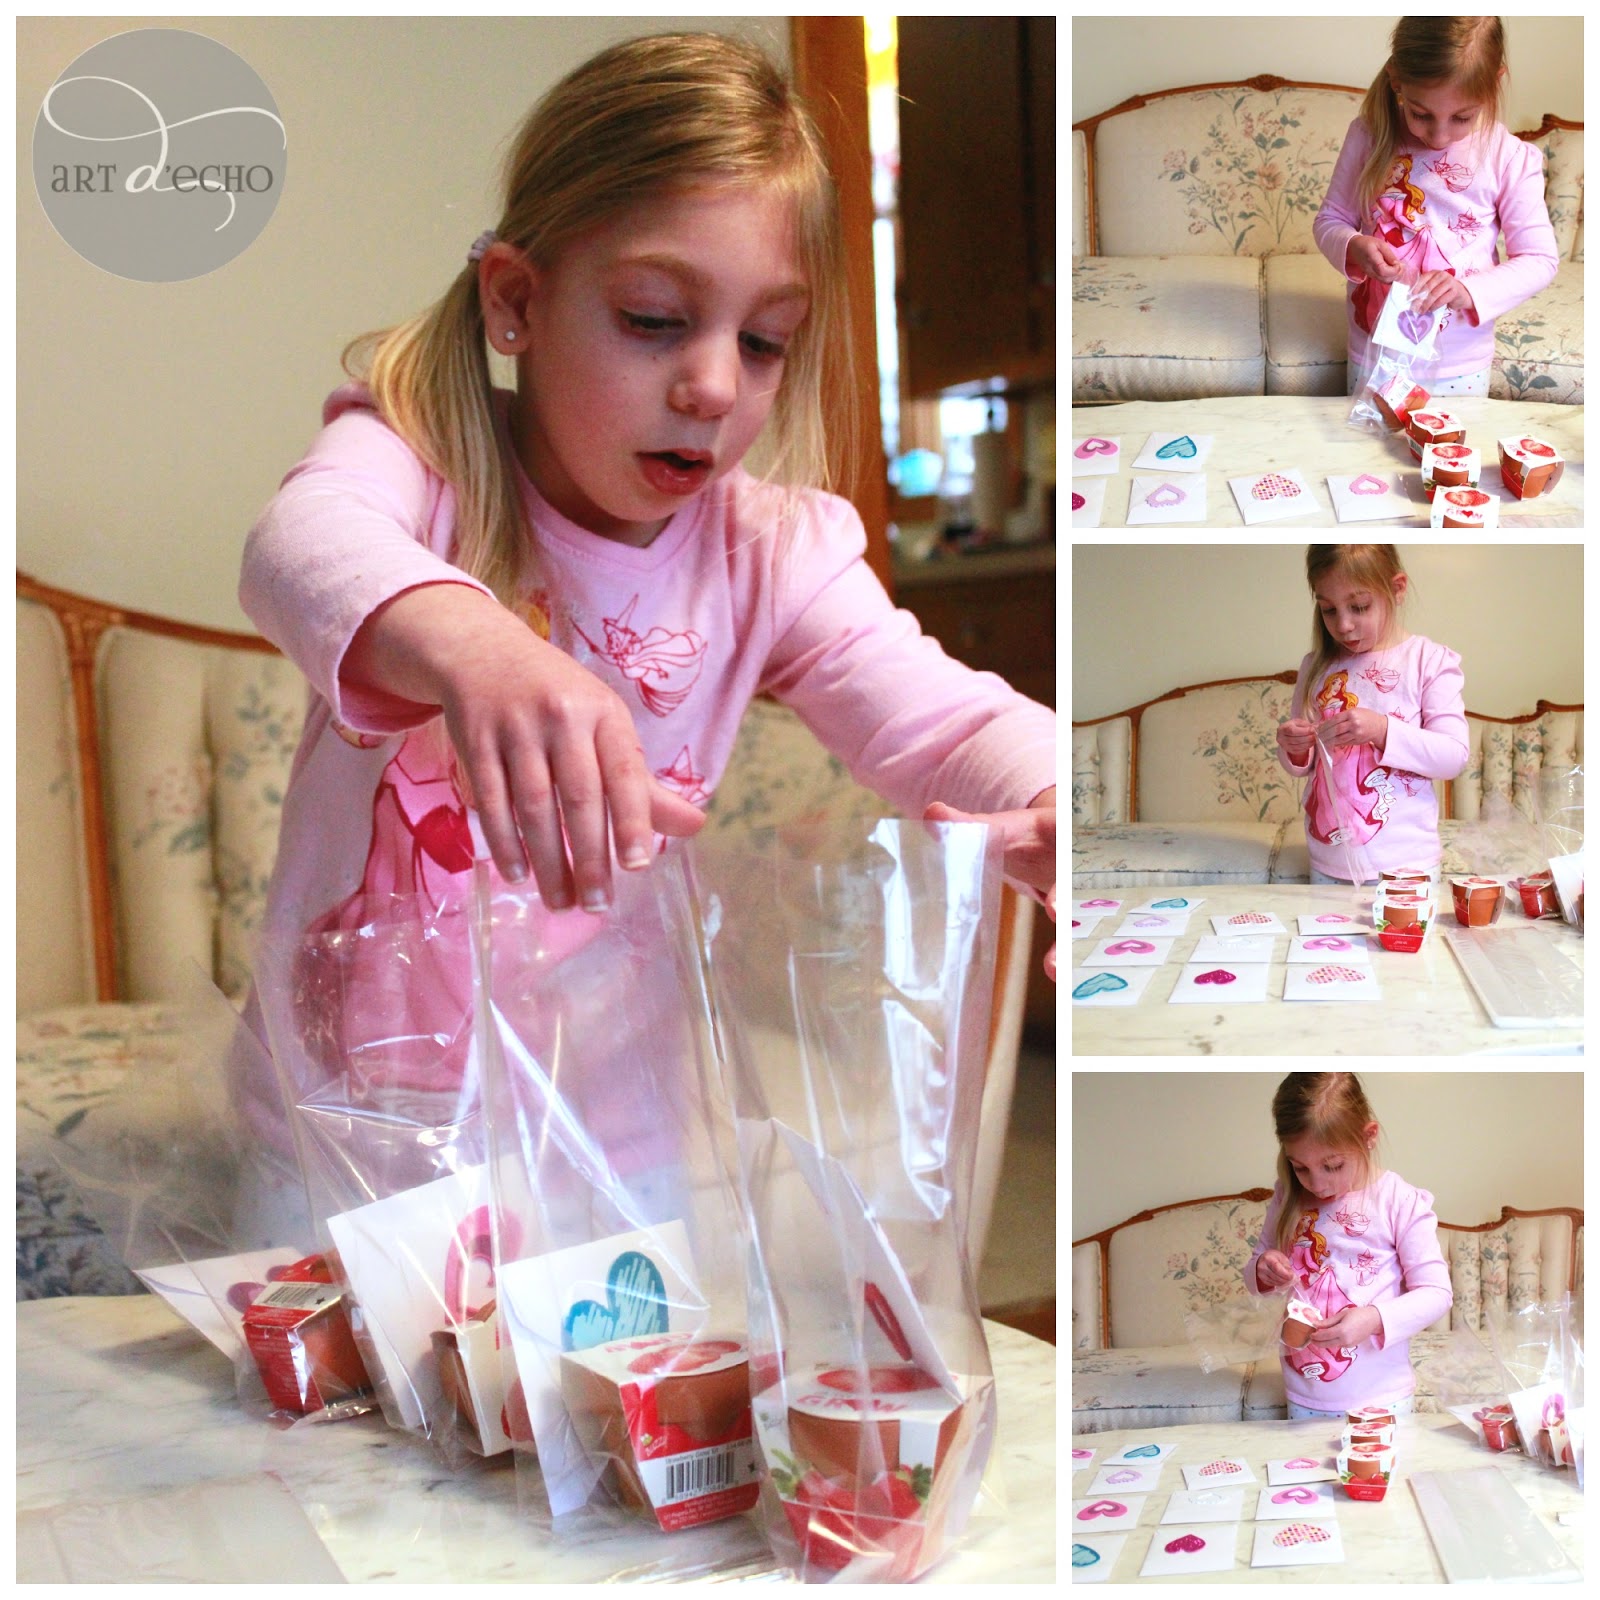
i put out a stack of cellophane bags (usually found with the baking supplies of craft stores).

art projects with my kids: valentine's day cards

lucy got to work: one card, one grow-your-own strawberry plant kit and 3 hershey's kisses in each bag. i moved the cards around so the names were visible, if need be.

art projects with my kids: valentine's day cards

lucy even tied ribbons in a simple square knot on about 10 of the bags before she was finally ready to stop, which was WAY more than i thought she'd want to do in one sitting! that night she starting to feel sick, so i finished tying the rest of the ribbons on the bags and then trimmed the excess ribbon off. here is the final product:

art projects with my kids: valentine's day cards

lucy was VERY excited to go to school and hand these out today. she loves giving people gifts, especially anything that she has made or picked out herself. i can't wait to see what her friends at school give her!

did you have your kids make their own valentine's day cards this year? how have you been spending these frigid, snowy days (or warm, sunny days so i can be insanely jealous)?

16 January 2015

i'm ba-ack.....

hello! i know, i know, i disappeared for a while. let me explain….

in 2014, we moved in with my husband’s grandmother (she’s 95!) and the majority of my attention was going to my family. my girls are a full-time job on their own. luciana is 5, started kindergarten in the fall, is very much the caring, nurturing older sister and continues to be on her own path with her language and motor skills. 

luciana, november 2014

anabella is 2 (whew, boy is she good at it!), is still very energetic and independent, and likes to challenge me. in every. single. way. 

anabella, november 2014

gramma is an old-school italian who likes to keep herself busy doing yardwork or cooking or sewing. she calls herself lazy because she forgets she swept all the leaves off her steps only hours before, (i did a-nothing today!) and claims she is “like a baby” because we’re here looking after her and have to help her put on her shoes now. i affectionately tell her she’s our teenager because she’s stubborn, thinks she knows everything, talks back and i have to drive her everywhere. 

gramma & luciana, july 2014

my husband, adam, is type-a, loud, generous, loyal, funny and loves to keep me on my toes. 

adam & me, christmas 2014

luciana is my mini-me. anabella is our adam, jr. and gramma's her partner-in-crime. we all seem to balance each other out.

then there is me.

drawing of me by anabella, january 2015

i had a few small invitation/card orders throughout the year, did some things like halloween costumes, the girls’ birthday party and other small random projects, but other than that i wasn’t really doing much. ok, besides grocery shopping, cooking, cleaning, changing diapers, laundry, picking up toys, settling disputes over who had it first and other typical stay-at-home-mom-type activities. i mean, for myself. for some reason, i was convinced that i had to streamline my interests and had to have focus in order to be productive. i didn’t like how my business name (echo art and design) didn’t explain what i did so i was spending all this time trying to come up with something that more descriptive. but what was i? graphic designer? calligrapher? no title i came up with seemed quite right. i kept trying to figure out how i could rebrand myself, find my niche. creatively, i was stuck.

suddenly 2014 was over and with the new year comes a new you, right? all i heard were people listing things they were going to start, things they were going to change. i don’t like to make new year’s resolutions. if you want to do something or change something, why wait? of course my husband asked me what my resolution was and without thinking about it, i said “be more creative”. then it dawned on me, why am i trying to limit myself? why am i trying to change? why am i trying so hard to put these labels on myself? all it’s really doing is stopping me from doing, well, anything.

i have a lot of interests. so what? instead of trying to change that, i am going to embrace it. as a kid, i wanted to be a million things. in college i picked my major and then i took as many different art class electives as i could possibly fit into my schedule. the only thing i’m going to focus on is doing. it doesn’t matter what, it doesn’t matter how big or how small. i am a creative person and it’s going to find it’s way into everything i do. i may find my niche eventually. or not, my resume may just keep getting longer and longer. i’m fine with that. in the meantime i’ll just be creating. something. anything. less reinvention, more invention. and i’m going to write about it along the way.

28 July 2013

a grover-themed 3rd birthday party

right now i am in party planning mode. my youngest daughter, anabella, just turned 1 a couple weeks ago (yikes, i can't believe it!) and my older daughter, luciana, will be turning 4 tomorrow (again, yikes, i can't believe it!!). i'm happy that their birthdays are close enough together so that i can just do one combined party (for now, not sure how it's going to work when they're teenagers)...

this year luciana is all about princesses but last year her obsession was sesame street. more specifically, that little furry blue monster, grover. i was also hugely pregnant with anabella while i was planning so i was trying to not go too crazy with all the details.

i knew i wanted to plan an indoor party (i didn't want to worry about a possible rain date or 97-degree weather) so i researched a few indoor play areas and ended up picking the klubhouse in woburn, ma. what i liked about it was the fact that the parties are private (some indoor play areas are open to the public and you just get a private party room), you could order pizzas directly from them and they also had the option to add a dance room with strobe lights and music, which of course we had to add since luciana loves to dance. plus, they do all the set up and clean up.

it turns out that it is a huge challenge finding anything with grover on it. elmo? elmo is EVERYWHERE! even cookie monster and big bird seem to be pretty popular. but grover, not so much. which is fine since i like to create my own party accessories. i started messing around in illustrator and came up with a grover drawing, which became the graphic i used for everything. i found this fun typeface called KG strawberry limeade and of course i had to include polka dots. here are the invitations:


i always like to include photos on the back of birthday invitations. i have a lot of family members that live far away so i think it's nice for them to have photos to keep for their fridge.

i printed the grover graphic on iron-on transfer paper (i could do a whole series of blog posts about my love for iron-on transfer paper) and put it on the front of a plain white t-shirt for the birthday girl. she didn't sit still long enough for me to get a good picture.


here's the back detail:


my husband, 3-week old anabella, and i all had matching t-shirts with the grover graphic on them. anabella slept through most of the party.


i definitely could not have pulled off ANY of this with out my aunt (pseudo-mom, best friend, guardian angel, knight in shining armour) debbie. she printed out a ton of grover pictures for decoration. AND, she was in charge of the cupcakes....


i found grover cupcakes on pinterest and figured it was just wishful thinking. until debbie found a baker near her that could do them and do them RIGHT (grover has fur and oval eyes, it's really all about the details). these were done by lily-cakes debbie brought them back all the way from long island, new york! how awesome are these???!!!


i have gotten a ton of use out of this cupcake stand, a 4-tiered stacked cupcake and dessert tower from wilton. well worth the $20 i spent on it!

i wanted to keep the favors simple. i ordered dark blue m&m's, put them in cellophane bags and tied them with polka dot ribbon. i printed the grover faces on white 2.5 inch round labels from paper source.


i also printed labels for the back of the favors.


 i mean seriously, how great are these??!!


the birthday song, along with a decapitated, flaming grover, ended up being a little overwhelming for the birthday girl!


she felt better after hugs from mommy & a juice box. i can't believe i couldn't find the grover's white grape juice boxes made by apple & eve. i tried 3 different grocery stores before giving up. i did find them later, at whole foods. oh well...


after the kids party, we had a family bbq at my in-law's house. luciana decided to take a dip in her clothes and sneakers. i guess the rules don't apply to the guest of honor!


well, back to party planning. back to princesses. i will take lots of pictures and i will try and post the details before the girls' NEXT birthday party!